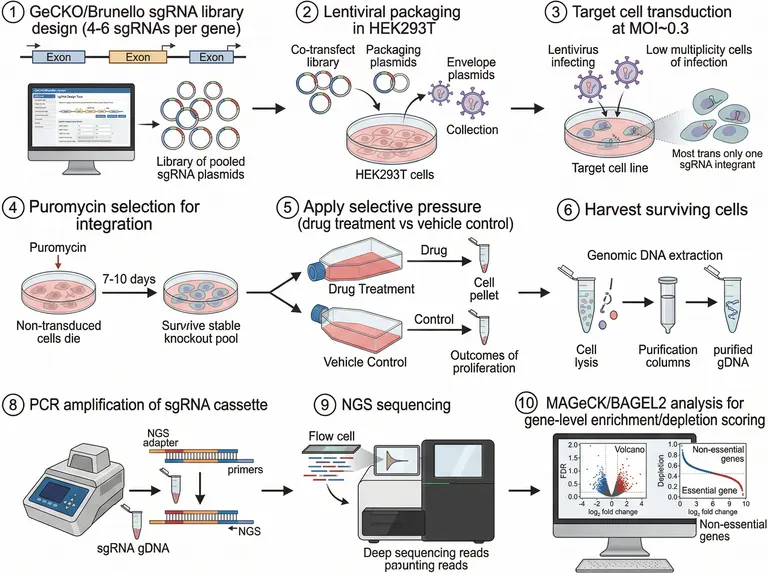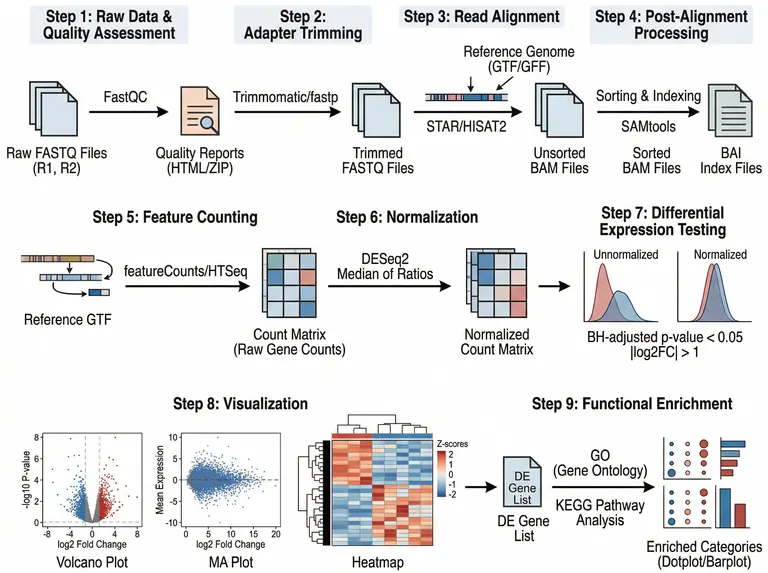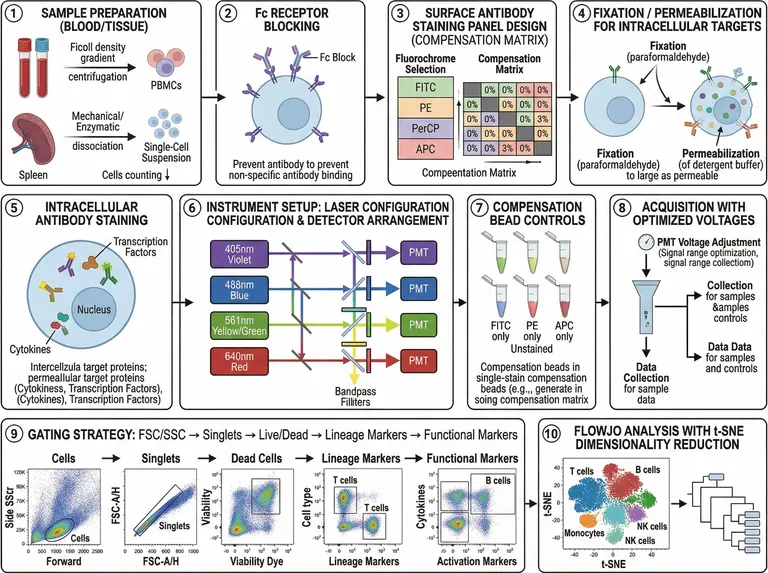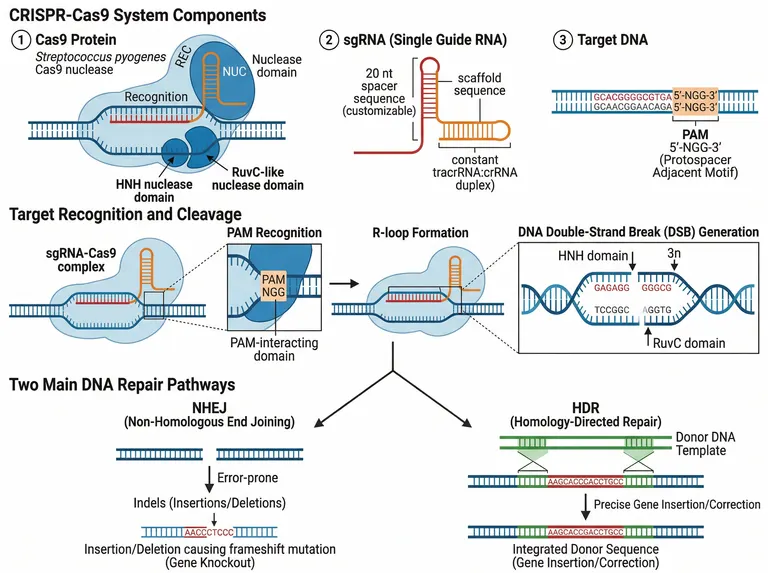
Figure template · Workflow · 4:3
Recombinant Protein Expression and Purification Workflow
A numbered workflow that takes one recombinant protein from a codon-optimized gene through His-tag cloning, bacterial expression, nickel affinity capture and tag removal to polishing columns and SDS-PAGE checks, for methods figures and lab training handouts.
Prompt
Create a scientific figure about: Recombinant protein expression and purification from cloning through affinity chromatography and QC. Visual style: Clean Vector. Requirements: publication-ready scientific quality, clear labels and directional arrows where appropriate, avoid cartoon or stock-photo look, composition optimized for research papers and academic slides.
What this template is
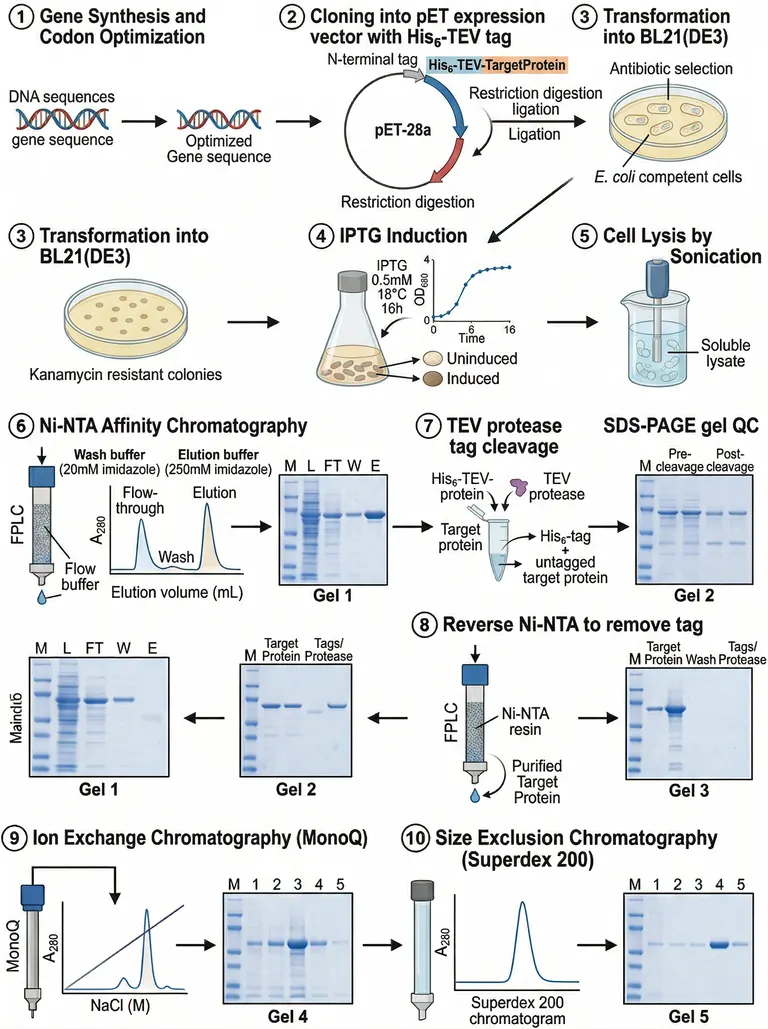
The panels follow a standard E. coli route. A synthesized, codon-optimized gene is cloned behind an N-terminal His tag and TEV site, transformed into an expression strain under antibiotic selection and induced with IPTG. Cells are sonicated, the soluble lysate is loaded on Ni-NTA, washed and eluted with imidazole, the tag is cut with TEV protease and removed on a reverse nickel column, and ion exchange and size exclusion polish the protein. A gel follows most steps, so a reader can see what each column took away and what it left behind.
Elements to label
Gene synthesis
Two duplex strands side by side, the first labelled as the native sequence and the second as the version codon-optimized for the host.
Expression vector
Mark the order of N-terminal His tag, TEV site and target gene on the plasmid, and write restriction digestion and ligation once.
Transformation and selection
Name the antibiotic and the expression strain beside the plate; the sample draws this step twice, so keep one.
IPTG induction
Label the growth curve axis OD600 and mark the time point where the inducer goes in.
Sonication lysis
Probe in the cell suspension, with the cleared soluble lysate called out separately and pointing to the nickel column.
Ni-NTA chromatography
Split the trace into flow-through, wash and elution peaks, and label the matching gel lanes M, L, FT, W and E.
TEV cleavage and reverse column
Show the cleaved His tag and the tagged protease binding the resin while the untagged target protein flows through.
SDS-PAGE checks
Name each gel after its step, and let the band shift slightly between the pre- and post-cleavage lanes.
Where it is used
- Paper mechanism figure
- Course handout
- Defense slides
- Academic poster
What reviewers look for
Which fraction holds the product
After TEV cleavage the second nickel pass should keep the tag and tagged protease on the resin and release the target in the flow-through; an arrow that collects the eluate instead is a mistake reviewers spot quickly.
Fix the growth curve axis
Culture density is normally read at OD600, but the sample labels the axis OD680. Induction belongs in log phase, so place the inducer mark on the rising part of the curve.
No repeated gels
The lower half of the sample redraws Gel 1 and Gel 2 with arrows running backwards, and one axis label is garbled. Delete the repeats so each gel belongs to exactly one step.
Polishing matches the claim
The size exclusion peak should match the oligomeric state you report from its elution volume, and the ion exchange fractions should match the lanes you cite, rather than one tidy peak standing in for both.
How to use it in Yila
- 1Pick a figure
- 2Describe your subject and the steps to stress
- 3Refine it in chat, then download the PNG
Tips
Do
- Put your own tag position, protease site and expression strain in the prompt so the plasmid panel matches your construct.
- If one nickel step is your whole purification, ask it to drop the ion exchange and size exclusion rows and give the gels more room.
Avoid
- Do not keep the induction concentration, temperature or imidazole values printed in the sample; replace them with the numbers in your methods.
- Do not publish a version where a step number repeats; the sample shows step 3 twice, so count the badges after each generation.
- Do not keep the lower row whose arrows run right to left; readers follow arrows, and a reversed row makes the order ambiguous.
Questions
Can this go straight into my paper?
Use it as a first draft of a methods figure. It is an AI-generated PNG, and the sample has a repeated step, a wrong axis label and one garbled word, so check every panel against your protocol and keep refining it in chat until it meets the journal's layout and type size rules.
Can I change steps or other elements in the figure?
Not element by element, but you can keep refining it by chatting in Yila: switch the host to insect or mammalian cells, swap the nickel resin for a glutathione column, remove a polishing step you skipped, and generate a new version.
What format is delivered?
An AI-generated PNG image that you can drop into a handout, slide or methods section. It is not a vector graphic, so before printing it large, check that the lane labels on the small gels are still legible at that size.
Is it free?
Viewing this page and the sample costs nothing. Generating your own version in Yila consumes credits, and new accounts receive 2,500 credits, enough to rework this purification route several times until it matches your construct and columns.
My protein lands in inclusion bodies. Does it still fit?
Yes. Describe the inclusion body route in the prompt and ask for the soluble lysate step to become washing, denaturing solubilization and refolding before affinity capture, with the gels comparing material before and after refolding.
Can I make it landscape for a slide?
Yes. Ask for a horizontal layout in the conversation and say which steps to keep, for example cloning, induction, nickel capture and tag removal only. It will reflow the panels and reduce the gels to one per step, which reads better on a wide screen.